Are you tired of stumbling in the dark when you come home late? Do you want to deter potential intruders and keep your property safe? Motion-activated lighting is a simple and effective solution that can help you achieve both goals.
With this DIY guide, you’ll learn how to install and configure your first motion-activated lighting app, step-by-step.
First, we’ll cover the basics of motion-activated lighting and why it’s such a popular choice for homeowners. Then, we’ll dive into the installation process.
Finally, we’ll guide you through the app configuration process, so you can customize your lighting settings and get the most out of your new system.
Understanding Motion-Activated Lighting
Motion-activated lighting is a type of lighting that turns on automatically when it detects motion. It is a popular choice for both security and convenience purposes.
In this section, we will discuss the benefits of motion sensor lights, the types of sensors and lights available, and how to select the right location for your motion-activated lights.
Benefits of Motion Sensor Lights
Motion sensor lights offer several benefits, including:
- Security: Motion sensor lights can deter burglars and other intruders by lighting up the area around your home. They can also alert you to any unusual activity outside your home.
- Convenience: With motion sensor lights, you don’t have to fumble for your keys in the dark or worry about leaving the lights on when you’re not home. They turn on automatically when you enter the area and turn off when you leave.
- Energy efficiency: Motion sensor lights are more energy-efficient than traditional lights because they only turn on when they detect motion. This means you don’t have to leave your lights on all night to feel safe.
Types of Sensors and Lights
There are several types of sensors and lights available for motion-activated lighting, including:
- Passive infrared (PIR) sensors: These sensors detect changes in temperature and movement to trigger the lights. They are the most common type of sensor used in motion-activated lighting.
- Ultrasonic sensors: These sensors emit high-frequency sound waves to detect motion.
- Microwave sensors: These sensors emit microwaves to detect motion. They are often used in commercial settings.
- LED lights: LED lights are the most energy-efficient type of light and are commonly used in motion-activated lighting.
Selecting the Right Location
When selecting the right location for your motion-activated lights, consider the following:
- Entrances: Install motion-activated lights near all entrances to your home, including garage doors and front and back doors.
- Decks and patios: Install motion-activated lights on your deck or patio to make it safer to navigate at night.
- Garage: Install motion-activated lights in your garage to make it easier to find your way around.
- Energy efficiency: Install motion-activated lights in areas where you spend the most time to maximize energy efficiency.
Preparing for Installation
Before you begin installing and configuring your first motion-activated lighting app, it’s important to prepare yourself and your workspace. This includes gathering the necessary tools and materials, taking safety precautions, and assessing your electrical setup.
Tools and Materials Needed
To install and configure your motion-activated lighting app, you will need the following tools and materials:
- Screwdriver (flathead and Phillips)
- Wire stripper
- Wire cutter
- Voltage tester
- Electrical tape
- Wires
- Screws
- Electrical box
- Junction box
- Circuit breaker
- Fuse box
Make sure to gather everything you need beforehand to avoid any delays or interruptions during the installation process.
Safety Precautions
Working with electricity can be dangerous, so it’s important to take safety precautions before beginning the installation process. Here are some safety tips to keep in mind:
- Turn off the power to the area where you will be working by turning off the circuit breaker or fuse box.
- Use a voltage tester to ensure that the power is off before you begin working.
- Wear rubber-soled shoes and avoid working in damp or wet conditions.
- Avoid touching metal parts of tools or equipment while working.
- Keep children and pets away from the work area.
Assessing Electrical Setup
Before you begin installing your motion-activated lighting app, it’s important to assess your electrical setup. Here are some things to keep in mind:
- Make sure your electrical box can handle the additional load of the motion-activated lighting app.
- Check if you have a junction box that can be used to connect the wiring.
- Ensure that your circuit breaker or fuse box is in good condition and can handle the additional load.
- Check if your wiring is up to code and in good condition.
Step-by-Step Installation Guide
Installing a motion-activated lighting app is a great way to keep your home safe and secure. With a few basic tools and some patience, you can have your new motion sensor light up and running in no time!
Removing the Existing Fixture
Before you begin the installation process, you need to remove the existing fixture. Turn off the power to the fixture at the circuit breaker, and then use a screwdriver to remove the screws holding the fixture in place. Carefully remove the fixture from the mounting plate and set it aside.
Wiring the Motion Sensor Light
Now it’s time to wire the motion sensor light. Use wire nuts to connect the ground wire from the light fixture to the ground wire in the electrical box. Then, connect the neutral wire from the light fixture to the neutral wire in the box, and the hot wire from the fixture to the hot wire in the box.
Mounting and Securing the Light Fixture
Next, mount the motion sensor light to the electrical box using the mounting screws provided. Be sure to use the gasket to seal the area between the fixture and the mounting plate. Use pilot holes to make it easier to screw in the mounting screws.
Configuring Settings and Testing
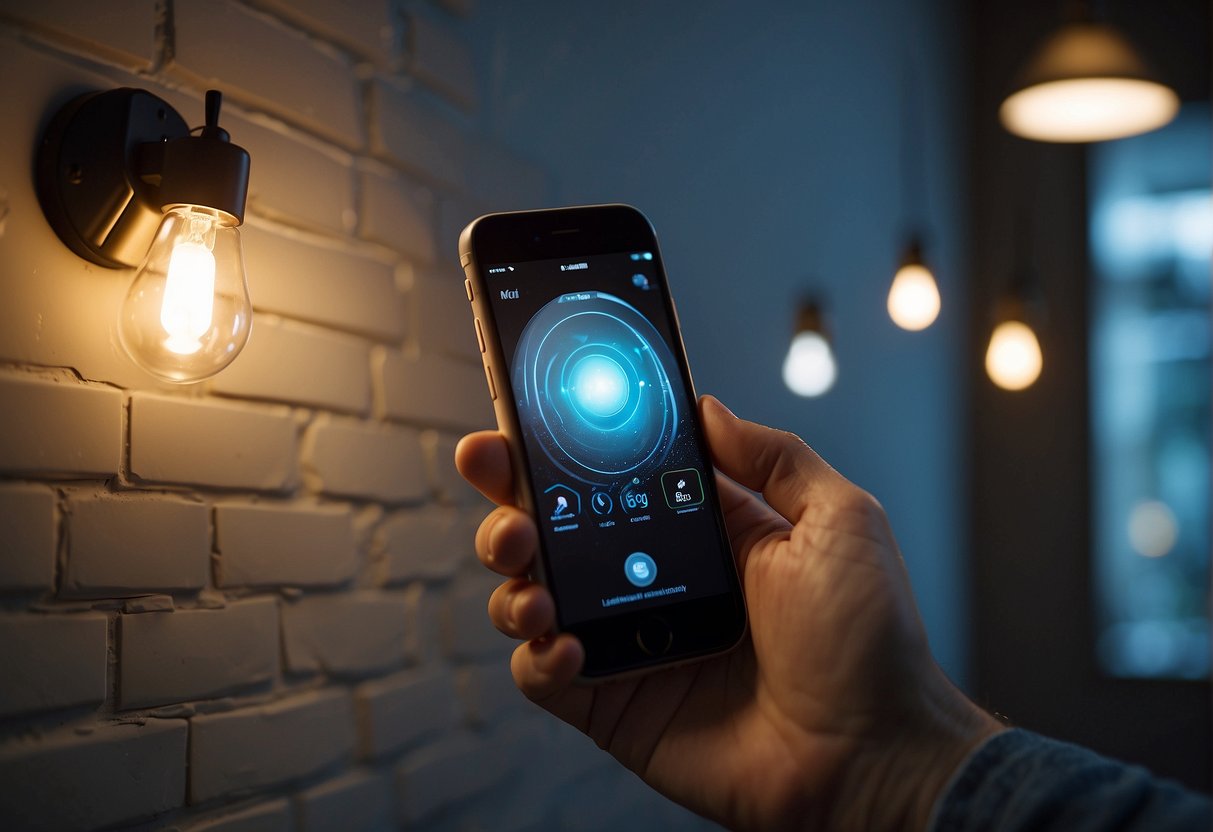
Once the fixture is mounted, it’s time to configure the settings and test the motion sensor light.
Open the battery compartment and insert the batteries according to the manufacturer’s instructions. Then, adjust the sensitivity and motion sensor switch to your desired settings.
Finally, test the light by walking through the sensitivity zone. If the light turns on and off as expected, you’re all set! If not, make sure the light group is set up correctly and that the anchors are secure.
Smart Integration and Advanced Features
Congratulations on successfully installing your first motion-activated lighting app! Now that you have your smart lighting system up and running, it’s time to explore the advanced features and smart integrations that make it truly smart.
Connecting to Smart Home Ecosystem
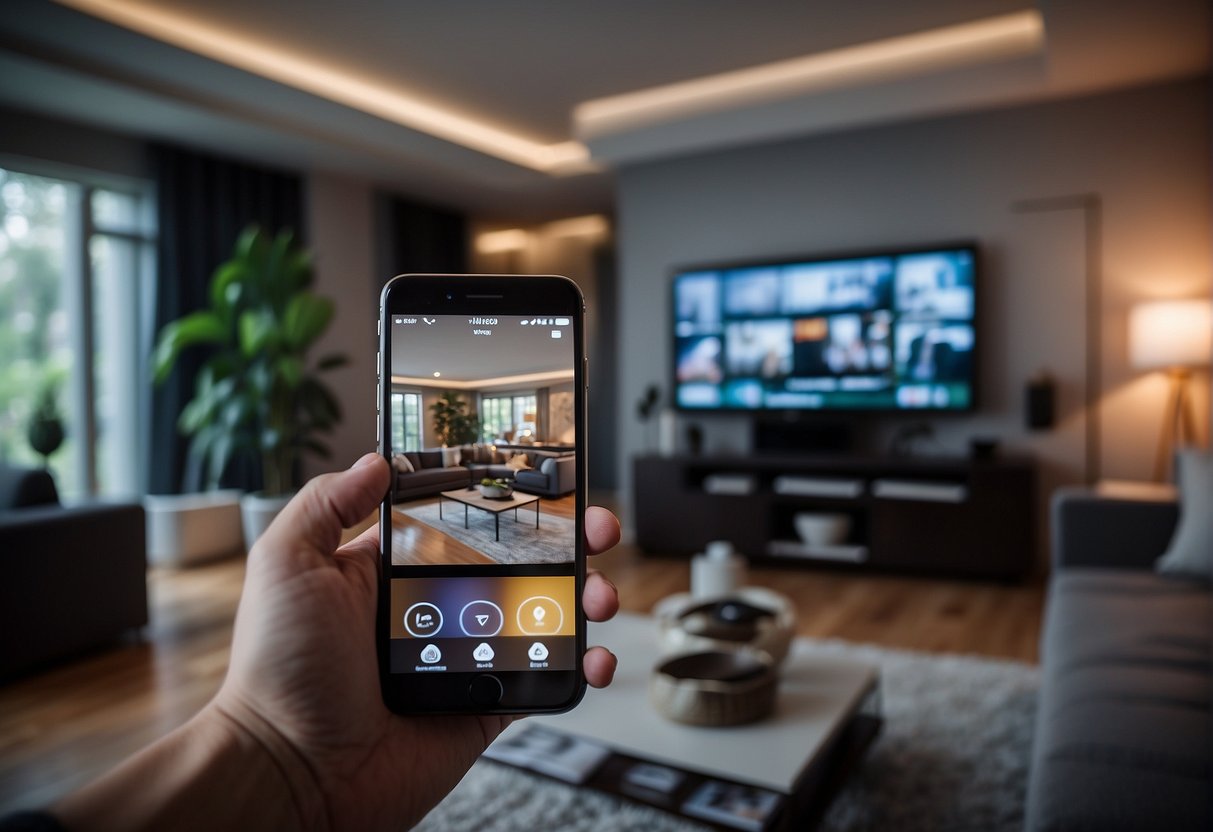
One of the most significant advantages of using a smart lighting system is its ability to integrate with other smart devices in your home.
By connecting your smart lights to your smart home ecosystem, you can control your lights with voice commands, automate them based on your daily routine, and even set them to turn on when you’re away from home.
To connect your smart lights to your smart home ecosystem, you’ll need a bridge. A bridge is a device that connects your smart lights to your home Wi-Fi network and allows them to communicate with other smart devices in your home.
Some smart lighting systems come with a built-in bridge, while others require you to purchase one separately.
Adjusting for Optimal Performance
Once you have your smart lighting system connected to your smart home ecosystem, you can start exploring the different settings and features to optimize its performance. Here are some tips to get you started:
-
- Update your system: Make sure your system is up to date with the latest firmware and software updates to ensure optimal performance.
- Adjust the sensitivity: Adjust the sensitivity of your motion sensors to avoid false alarms while ensuring that they detect any movement.
- Customize your settings: Use the ring app to customize your settings and adjust the brightness, color, and duration of your lights.
- Use QR codes: Use QR codes to quickly set up and connect your smart lighting system to your network.
Sharing Access with Others
Finally, if you want to share access to your smart lighting system with others, you can do so by adding shared users.
Shared users can control your smart lights using their own devices. You can also limit their access to specific lights or features.
To add shared users, open the ring app, go to settings, and select “shared users.”
With these advanced features and smart integrations, your smart lighting system is now truly smart.
Enjoy the convenience, energy savings, and security benefits of having a fully automated lighting system that adapts to your daily routine.